In this article, you’ll be learning to write smart contract using SmartPy. Smart contracts are programs stored on the blockchain that is executed when a predefined condition on code is met. The key difference between smart contracts and normal code is that smart contracts interact with the blockchain, enabling transactions in a fully decentralized and trustless environment.
There are several high-level languages for writing smart contracts on Tezos, but Michelson is a domain-specific language on Tezos for writing smart contracts. Smartpy and Ligo are the most popular languages developers use, but the code written in these high-level languages is ultimately compiled to Michelson.
In this article, you’ll be using SmartPy to write a smart contract.
This article is the 2nd part of our series on Tezos, read the 1st part Introduction to Tezos here.
What is SmartPy?
SmartPy is an intuitive and powerful smart contract development platform for Tezos. Furthermore, it is based on python; so, if you have prior experience with python, it will be useful; otherwise, you can refer here.
The contract will store the user data (name, gender, and score), and there will be two entry points:
addUser– To add a new userupdateScore– To update user’s score

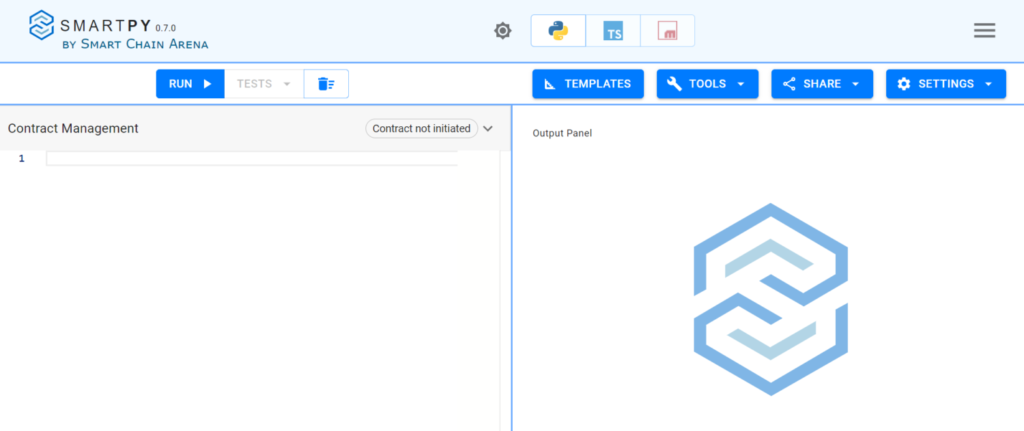
Go to SmartPy IDE and follow the tutorial below:
Step to write smart contract using SmartPy
First Step: Initialize contract storage
Let’s get started with importing the Smartpy library.
import smartpy as spIn Smartpy, a contract is defined by a class that inherits from sp.Contract.
class User(sp.Contract):
    def __init__(self):
        pass
The first step in creating a contract is defining its storage. The storage can be interpreted as a database in web2.0. The data is stored on storage, and it defines the state of the contract.
You have to define it using self.init() function inside the constructor.
In this contract, you have to create a map() for storing data of all the users.
import smartpy as sp

class User(sp.Contract):
    # Constructor
    def __init__(self):
        self.init(userMap = sp.map())
Second Step: Create entry point
The next step is to create an entry point. An entry point can be invoked from outside and can change the contract’s storage. For creating an entry point, it has to be decorated with @sp.entry_point decorator.
In this contract, you have to create two entry points:
addUser– This entry point can be called whenever a new user is to be added containing some properties like (name, gender, and score).
@sp.entry_point
    def addUser(self, params):  # Takes in email, name, gender in params
        self.data.userMap[params.email] = sp.record(    # Here email is the key and the data is stored in a record (similar to a struct in C/C++)
            name = params.name,
            gender = params.gender,
            score = 0,
        )
In this entry point, you have to store a record of name , gender and score in the userMap The data is passed in param object. The contract storage is accessed using self.data
updateScore– This entry point can be called to update the score of a particular user.
@sp.entry_point
    def updateScore(self, params):  # Takes in email and score in params
        self.data.userMap[params.email].score += params.score   # Adds the incomming score to the existing score of a user
This entry point is updating the user’s score by adding the incoming score to the existing score of the user.
Third Step: Write tests for smart contract on SmartPy
Once you are done writing the entry points, the next step is to write some tests for the operations mentioned above in the respective entry points. Tests are important to ensure if the contract is working fine before deploying it to the testnet.


- Define a function with
sp.add_testdecorator
    @sp.add_test(name = "User")
    def test():
pass- Create an object of
Userclass
c1 = User()
- Create test scenario: The scenario creates an environment for testing contracts.
scenario = sp.test_scenario()
scenario.h1("User Data")    # Displays h1 heading (as in HTML)
scenario += c1      # Displays current state of c1
scenario += c1.addUser( # Displays the state of c1 after calling the addUser entry point
email="[email protected]",
name="Bob",
gender="male"
)- Call
updateScoreentry point
scenario += c1.updateScore(     # Displays the state of c1 after updating the score to 10
    email="[email protected]",
    score = 10
)
The complete smart contract can be found here.
Fourth Step: Run the smart contract on SmartPy
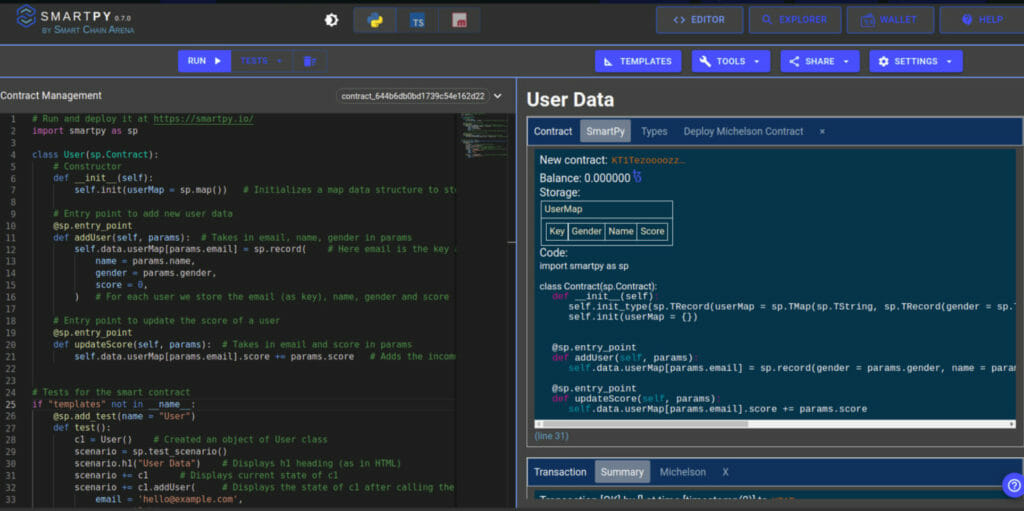
Congratulations! you are done with writing your smart contract. Next, run it to view the test results.
On clicking the Run button, it displays the test output on the right as shown in the image below:


This was the second article in the series of four articles listed below:
- Introduction to Tezos blockchain and Tezos developer tools
- Writing smart contract using SmartPy
- Deploying and exploring smart contract
- Integrating with frontend
Since now you have a basic understanding of what is Tezos blockchain and writing smart contracts using SmartPy, in the next part, you’ll be learning to deploy and explore smart contracts.
